Sunday, March 24, 2013

Ninja Birthday Party

So, my first born is now 8 yrs old and we had a super fun time celebrating him over the weekend. I always let my kiddos have input as to what kind of party they would like to have and then I take it from there and try to surprise them with the details.
They get so excited about birthdays and parties, making it even more fun for me to plan them!
Stone Man decided he wanted to have a Ninja party this year so I started searching the net for ideas and inspiration right away.
 I found a free download online for this fun ninja invite and then just made a few adjustments. I apologize because I cannot seem to find that site now!
I printed these on plain white printer paper in black and white, took a red marker to fill in the little star on the ninja's forehead and grabbed some of my red washi tape to seal them.
We stamped a Chinese character on the back of the envelope and used my wax seal to finish it off. I love my wax seal and had actually forgotten that I had it!
A black flat sheet and a red plastic table cloth covered the table. A pair of chopsticks rested on every child's plate and paper lanterns hung from above. We purchased the lanterns from Amazon in packs of 3. They are great because you can fold them flat again when you are done and use them again later.
However, I quite like them above my dining room table, even with the rest of the decor taken down. They may camp out there for a while, because they are fun!
We had strawberry cake (as requested by the birthday boy), icecream, sushi candy, and rice crackers.
I had so much fun making the sushi candy! I have made some like these before, but on a smaller scale just for my kids.
I got inspired all over again here and here. The kids LOVED it!
I made rice crispy bars as the base for all of the sushi; swedish fish on top and wrapped with a fruit roll up. The other sushi are made to be more like rolls. I simply cut a small square of the rice crispy bars, molded them with my hands into a circular shape, topped them with a dab of white icing, added a small piece of marshmallow that I cut and dyed with red food coloring to look like crab, sprinkled with shredded coconut and added some orange gel icing for the fish roe. Yeah, that's A LOT of sugar people! But that's how we do birthday's around here; they are a treat!
 I love to label food and drinks at parties with fun little cards. I just used white card stock, a stamp, sharpie, and black stamp pad to make them look a bit aged.
And our ninja birthday cake. I got the idea for this here. They did this same thing on cupcakes so I thought it would work for a cake too, and it did!
The slanted eyes are black licorice. 
These were hanging on the wall behind the table. I drew these out using paper from a large roll that I have. I wanted them to look like scrolls so the paper on the roll was perfect for that.
After drawing out my design, I grabbed my paints and went to work on the red and black scroll. I used a large mixing bowl turned upside down to trace a perfect circle and a ruler to draw the straight lines for the rest.
I searched online for Chinese characters and settled on this one meaning "happy." I grabbed my fine tip sharpie, and my laptop and free handed it.
On the other side of the table, I hung these super fun chinese takeout box lights over the doors. Daspri loaned these to us for the party and she has had them for a while so I am not sure if you can still find these or not.
However, there are lots of different lights available online that would go well with this style.

After everyone filled up on sweets and presents were opened, we sent the ninjas outside with their ninja swords.

I found this idea here.
The swords are made from foam pipe covers and electrical tape! You can find this foam in a long piece at your local hardware store (Lowe's, Home Depot). I paid .97 for each one. Then I simply cut them with an exacto knife and added electrical tape to one end.
Each pipe cover made 3 swords. They were super easy to make, affordable and well worth it. The kids loved them.
And let me say that they held up way better than I thought they would. Those swords were used in many ninja fights in the backyard and not one of them broke! And no one was injured because they are just foam. Perfect!
I also made ninja head bands for the kiddos too. I mean, you kind of have to have these. ;)
Again, very simple and affordable.

I bought some stretchy black knit fabric and cut it into long strips. I could have easily stopped there and they would've still been really fun, but I thought they needed a little something more.
So, I bought a package of iron-on stars too.
Each child left the party with a sword, headband, pair of chopsticks and a little thank you note.


The party was a huge success. Everyone seemed to have a great time and the birthday boy felt very loved!
Mission accomplished. :)
-Jenny

Related links:
Chopsticks
Paper Lanterns


Friday, March 22, 2013

Birthdays & Ninjas

Today, my first born turns 8 yrs old. That is just plain crazy and shouldn't be allowed to happen! I know every parent says this, but seriously, I don't know how he is already 8! It has gone by way too fast.
But man oh man, have we enjoyed life with him and watching him grow up. He has supplied this family with many smiles, belly laughs, crazy dancing, mad ninja skills, ridiculous jokes and loads of joy.

Today, we are celebrating with all his favorite foods; cinnamon rolls for breakfast, pigs in a blanket for lunch, and out to eat Chinese food for dinner.

Tomorrow, we celebrate Ninja style with friends and family.
My mom always made birthdays super special in our home. I enjoy doing the same for my children. Birthdays are a big deal around here. They are that one day of the year that we enjoy celebrating the special birthday boy/girl and really focusing on them.

Check back on Monday to see our Ninja Birthday Party!

Have a happy Friday!
-Jenny

Monday, March 18, 2013

Crazy Refreshing & Peaceful

So, this may seem like an odd title, but to me, it is very fitting. Let me explain.

We got to go spend the weekend with some friends. They used to live right down the road from our house and we would get together a couple of times a week; the kids would play and their mom and I would drink coffee and chat amidst the craziness.  Almost a year ago, they moved away due to a job opportunity.  We have missed them a lot.

We finally got to get away and go see them. They are a family of 5 with three little boys and we are a family of 6. Do you see where this is going yet?
That's 7 crazy excited little ones all bunking together for the weekend.
It was crazy at times, but the good kind of crazy; refreshing. We played, laughed A LOT, slept very little, drank large quantities of coffee, battled it out in many games of Catan, had some family worship time together, and even managed to work in some craft time too.

Crazy refreshing. 
Life is crazy sometimes, well, most times. It's crazy busy; crazy full; crazy fun; crazy awesome! But it's also crazy refreshing & peaceful too.
Peace does not mean a physically quiet and tranquil place. It might sometimes, but that's not true peace to me.
While the kids were running and playing around us, there was no quiet, but I felt peaceful.

We were created to need fellowship with one another. I love living life with the people that God has placed in our lives.
Living life together, encouraging one another, loving one another, sharing a meal or a cup of coffee together, raising children together; this is where you find life.

We are taking a small break this week and living life together; with our family and friends. We'll be back to blogging next week (on Monday) and ready to share some fun things with you!
Be on the look out for a Ninja Birthday party and the intro to a new series all about COLOR!

Hope you have a crazy refreshing week!
-Jenny


Friday, March 15, 2013

I Heart Skeleton Keys-New T&R pieces!

It's Friday- yay!!! I know I am home everyday so some would think that Friday would not be so exciting, but it is. Friday means that we are about to enjoy two days of no school and fun time with daddy; together!

Also, exciting about today is that I finished and delivered more new Teapots and Robots pieces to Branch Out. I am so thankful for this wonderful creative outlet and for the two sweet ladies that have given it to me.

A little sneak peak. ;)

 Check out Branch Out in person and online. You can also find my little shop, Teapots & Robots here.

Happy Friday!
-Jenny

Thursday, March 14, 2013

DiY Makeup Brush Cleaning

I’ve learned a lot about makeup over the last decade or so (that makes me sound old).  One of the best things I learned in the last few years is that brushes are my friend. They make everything go on a bit smoother and can really help add that shading and shadowing we all like. But, what I’ve not been very good at is cleaning those lovely tools.


So, I set out to give my brushes a good cleaning and some new life. Lo and behold they needed the dip a lot worse than I thought. I’m a little hesitant to show you the pic of the water after my friends took a dip but I think you should see what you’re up against if you aren’t cleaning your brushes. A little makeup residue and probably a bit of bacteria.  

It is really very simple. You can buy a brush cleaning product or you can simply grab some baby wash. Since I have little bit at home I stole borrowed a tablespoon of her baby wash and filled up a jar with warm water to make a good suds bath.


Wipe any excess makeup off on a paper towel first.


Then give each brush a good dip and swirl, running them across the bottom of the glass/bowl to release all the makeup. Leave it in the water and grab the next one. As you can see, my friends needed a good bath.


Once they have all been dipped and swirled rinse them in cold water. Reshape each one and lay them on a towel slightly angled.


Once they dry they are soft and have reclaimed they former glorious shapes and smell quite nice as well.


Your face will thank you!!!
Daspri

Wednesday, March 13, 2013

Teaching Your Children To Love

I love opportunities that allow my children to show love to others; to think outside of themselves and think of someone else first.

"Do nothing from rivalry or conceit, but in humility count others more significant than yourselves. Let each of you look not only to his own interests, but also to the interests of others. Have this mind among yourselves, which is yours in Christ Jesus, who though he was in the form of God, did not count equality with God a thing to be grasped, but made himself nothing, taking the form of a servant, being born in the likeness of men." -Philippians 2:3-7

Sometimes these opportunities seem to just arise. But most times, you have to be looking for them. Just like everything else, it comes back to where your heart lies. When your heart is to love others, you will see that there are always countless ways to show and share love.

I am not always the best at this. One of the many things that having children has taught me, is that I can be really selfish.
However, my heart really is to love as He loves me and to help cultivate that love in my children; to be an example to them, and seize any opportunity that they can give love themselves.
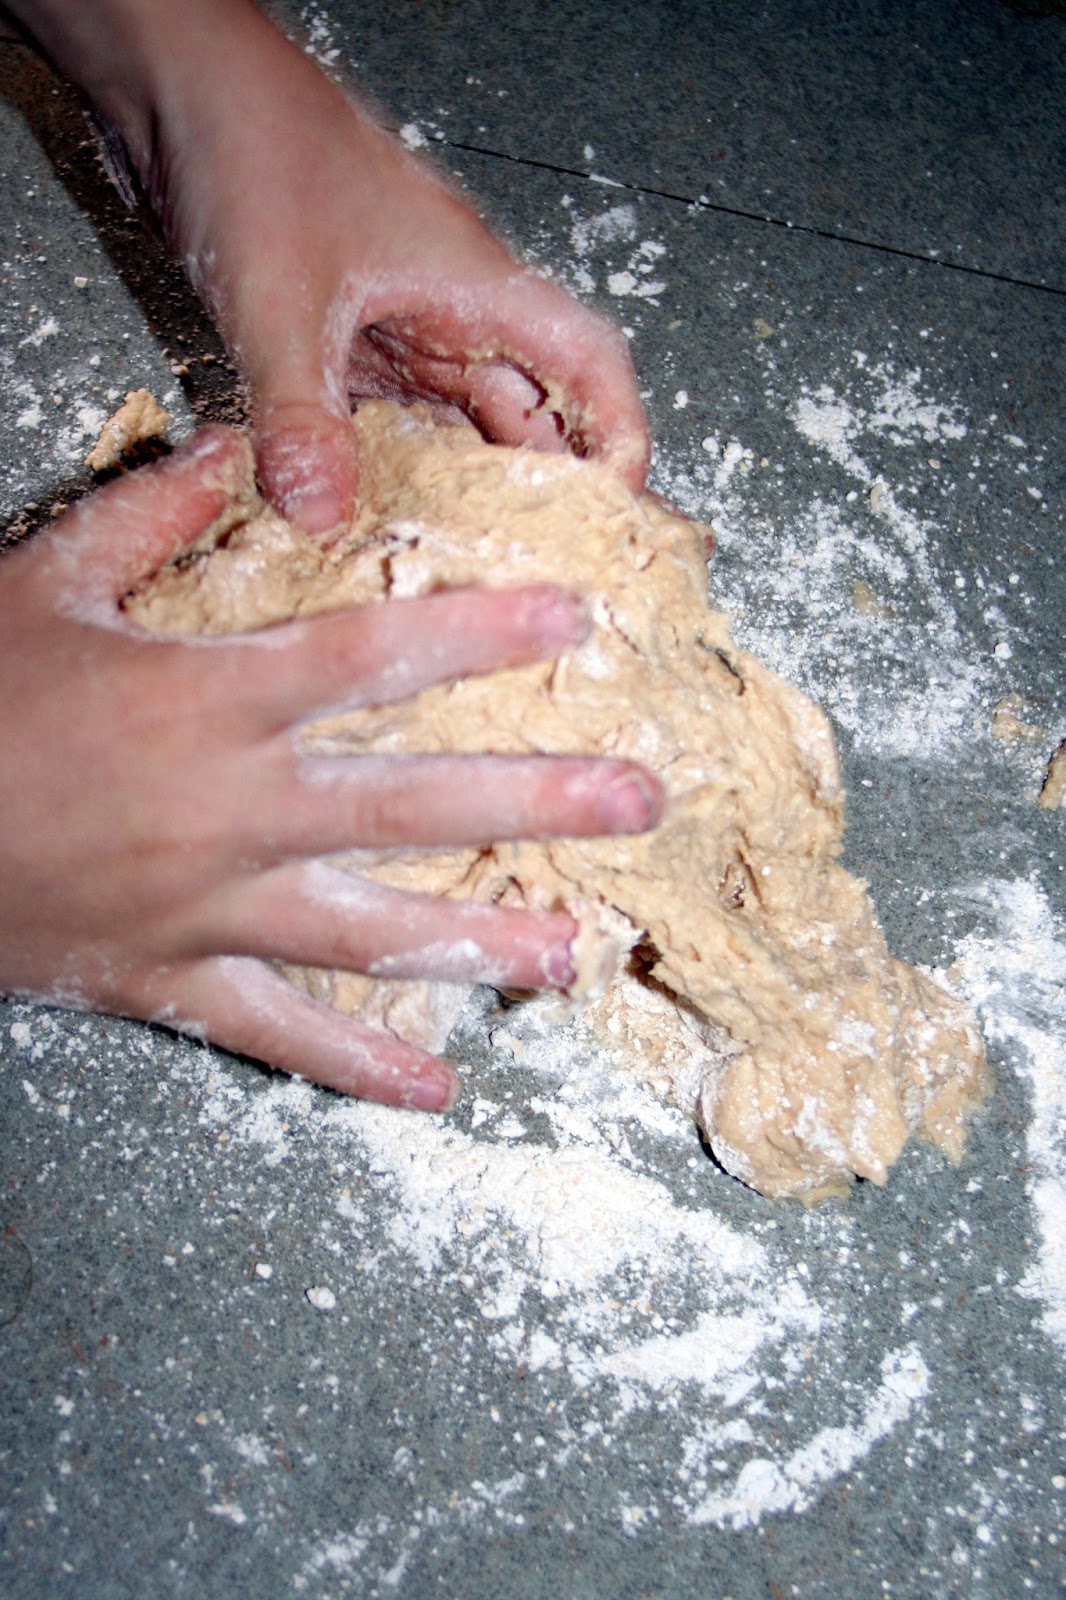
We use My Father's World school curriculum and our Bible lesson recently was about the Bread of life.
One of the suggested activities was to make a simple loaf of bread and take it to someone. When I shared this with my oldest son, he was so excited to not only make the bread but to share it. He immediately knew who wanted to take it to, one of our neighbors, a sweet elderly woman.
This opportunity was presented to us. We had a choice to do it or not do it. But it isn't just the act of doing it.
.."God loves a cheerful giver." 2 Corinthians 9:7
We had such a great time making this bread together. It blesses my heart so much to watch my children grow in love for others.
It is God that transforms our hearts but I am the one He has chosen to be their example right now. Oh, how I am so thankful that He does not expect me to do this on my own. I would surely fail.
Just in case you are ever tempted to think that my house always looks nice....  ;)
This is real life folks; we're living it and I hope to always convey that.
Our bread is done!
After letting it cool a bit, we packaged it in this bakery lined bag and added our bible verse that Stone Man colored during school.

"...I am the bread of life. He who comes to me will never go hungry, and he who believes in me will never be thirsty." -John 6:35

To love and be loved is to feel the sun from both sides.
-author unknown

It feels good to be loved...spread some around!
-Jenny


Tuesday, March 12, 2013

DiY Bracelet Wrap


I have a sweet neighbor that creates goodies too. She buys bags of broken pieces and recycles or reuses the parts she can and then passes the rest along. A little while ago she was so sweet to bring me two bags of pieces to look through. One of the bags was full of bracelets. YAY! Most of them were still intact but missing a stone or something like that. So I shuffled through all the goodies and sorted everything and grabbed a few of these bracelets to wrap them up.


I wanted to make a 3 piece set so I got some yarn, craft yarn, and craft string in complementing colors (all I had on-hand).

Each one was wrapped using these different materials and some hot glue. Fun and quick project and happened to be free…! You can always wrap an old bracelet you have and don’t really care for anymore or grab a tape roll and go to town (see tutorial).


Daspri