
Well, November is almost upon us. And with it comes
Thanksgiving and Christmas, but before we get there my sweet Keylee will be
turning 2! Last year I went a little crazy and handmade so much of her birthday
stuff and loved it. Of course I’m on that same track this year but I’ll share
all that fun after her party. For now, I’m going to share the fun stuff we did
last year.

Her party didn’t really have much of a theme, more just a
color scheme. Also, I was not blogging at the time so I do not have pictures of
making most of the things I made but do not fear, I have links to others like
them for you.

As you can see we did purples, greens, yellows, and blues. This was my first attempt at yarn balloons,
cake pops, a handmade banner, party hats, treats bags and just about most
everything I did for the party. So, for it being my first go with so many new
projects I think it all turned out pretty well.

The yarn balloons turned out to be so cute but they were a
lot of work. Tips for this project:
*do it in phases, add a layer, let
it dry a bit and come back later to add the next. You can get the look you like
by adding layers until it is as full as you want it to be.
*make sure you have the correct
consistency of glue, you want it to be pretty thick. I used a combination of
regular white glue and water but mod podge works well (it is just more
expensive especially if you are making a lot).
*hang them to add some layers and
turn them upside down on a cup to add others. This allows you to see them from both
angles and really get the best look.
*instructions here
*instructions here

I made party hats so each child could decorate one and be
creative. Tips for this project:
*use the template but skip the flap
and slit part. Just cut them straight edge and glue them end to end. Soooo much
faster!
*have lots of goodies to add to them. Make
sure you have a volunteer to oversee this project with the kids while you are
running around tending to everything else for the party.


*make sure you find a good set of
instructions and follow them. I really liked the ones I found here.
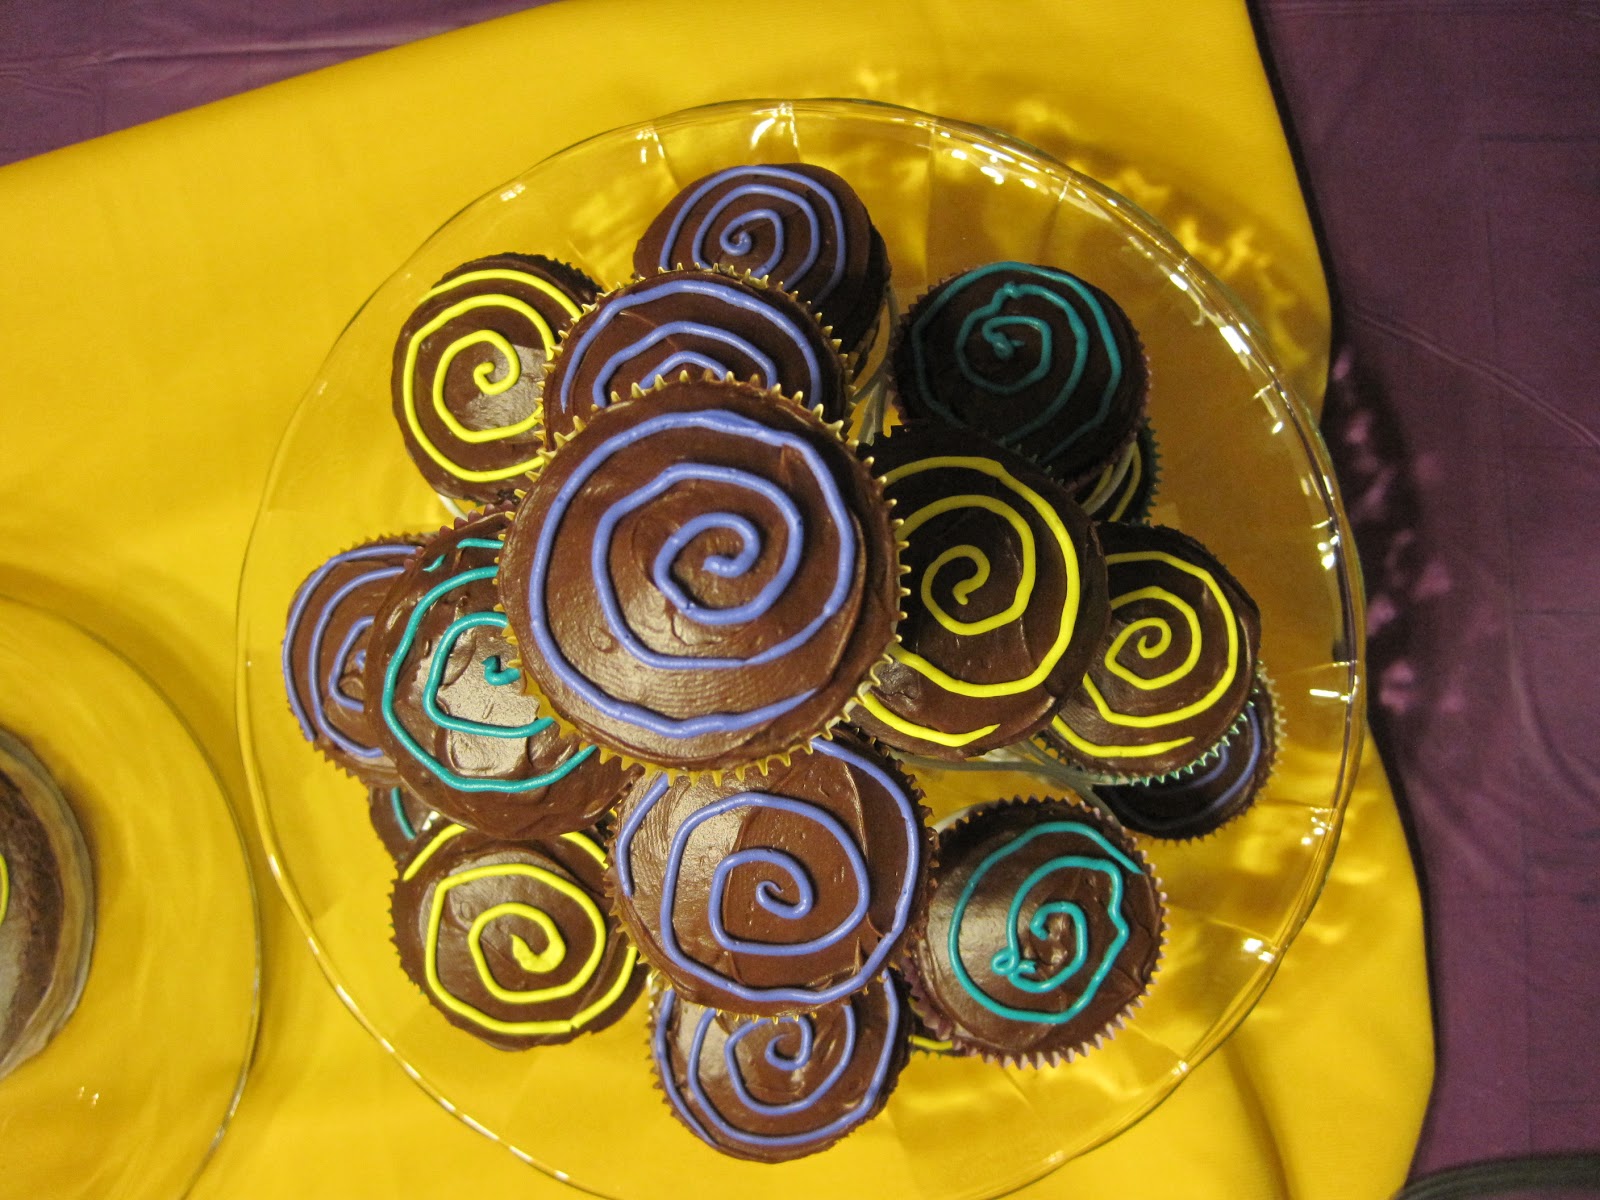
*I used candy melts for the outside
but I actually used regular icing with gel food coloring for the swirls and it
hardened up nicely for packaging.
I made Keylee a little bib and hat to wear also. I just took
a bib she already had and traced the pattern on felt. I used the method
described below for the stitching.

And as each of our little guests left they got a fun treat
bag on their way out the door. I filled them with felt flowers for the girls
and elastic felt mustaches for the little boys. I threw a few other little
treats in there as well. I made these bags from felt and craft thread. They
were really easy but as everything else took some time. So start in advance and
you can stitch a few here and there as your time is free during the days or
evenings. I didn’t find a tutorial for these but I didn’t need one. All you
have to do is:
1.
Take some cardstock and decide what size bag you
would like. Cut out a pattern which is basically a rectangle. Fold it in half
and cut a semicircle in both sides, these will be your handles.
2.
Unfold it and lay it flat on your felt and trace
around it. Don’t forget the handles.
3.
Cut out
the traced pattern.
4.
If you are going to do any designs like I did or
initials make sure you do these now before you stitch the rest of it together.
I cut little circles out and stitched them on then added initials for each of
our little friends.
5.
Whip stitch around the handles and then fold it
together to form your bag and whip stitch the outside. And done!

Her party was a success and we had a lot of fun. Happy party
planning to you!
Daspri
Daspri
No comments:
Post a Comment
Sunshine from our friends